Ubuntu20.04にNginxとPHP7.4をインストールしてHelloWorldをする
- 作成日時:
- 最終更新日時:
- Categories: インフラ
- Tags: php Nginx Ubuntu スタートアップシリーズ

5年以上前にやったきり、完全に忘れているNginxでPHPを動かす方法。
本記事ではその手順をまとめる。
必要なパッケージのインストール
sudo apt install nginx php php-fpm
Nginxはサーバー、phpはPHP処理系、php-fpmはNginxから動作させるために必要なもの
Nginxの設定
/etc/nginx/sites-available/defaultを書き換える。
sudo vi /etc/nginx/sites-available/default
TODOと書かれた場所だけ編集する。
##
# You should look at the following URL's in order to grasp a solid understanding
# of Nginx configuration files in order to fully unleash the power of Nginx.
# https://www.nginx.com/resources/wiki/start/
# https://www.nginx.com/resources/wiki/start/topics/tutorials/config_pitfalls/
# https://wiki.debian.org/Nginx/DirectoryStructure
#
# In most cases, administrators will remove this file from sites-enabled/ and
# leave it as reference inside of sites-available where it will continue to be
# updated by the nginx packaging team.
#
# This file will automatically load configuration files provided by other
# applications, such as Drupal or Wordpress. These applications will be made
# available underneath a path with that package name, such as /drupal8.
#
# Please see /usr/share/doc/nginx-doc/examples/ for more detailed examples.
##

# Default server configuration
#
server {
	listen 80 default_server;
	listen [::]:80 default_server;

	# SSL configuration
	#
	# listen 443 ssl default_server;
	# listen [::]:443 ssl default_server;
	#
	# Note: You should disable gzip for SSL traffic.
	# See: https://bugs.debian.org/773332
	#
	# Read up on ssl_ciphers to ensure a secure configuration.
	# See: https://bugs.debian.org/765782
	#
	# Self signed certs generated by the ssl-cert package
	# Don't use them in a production server!
	#
	# include snippets/snakeoil.conf;

	root /var/www/html;

	# Add index.php to the list if you are using PHP

    #TODO:indexの次にindex.phpと書く。これでindex.htmlよりも優先してindex.phpが動く
	index index.php index.html index.htm index.nginx-debian.html;

	server_name _;

	location / {
		# First attempt to serve request as file, then
		# as directory, then fall back to displaying a 404.
		try_files $uri $uri/ =404;
	}

	# pass PHP scripts to FastCGI server

	#TODO:ここのコメントアウトを外す。
	location ~ \.php$ {
		include snippets/fastcgi-php.conf;

		# With php-fpm (or other unix sockets):
		fastcgi_pass unix:/var/run/php/php7.4-fpm.sock;
		# With php-cgi (or other tcp sockets):
		#fastcgi_pass 127.0.0.1:9000;
	}

	# deny access to .htaccess files, if Apache's document root
	# concurs with nginx's one
	#
	#location ~ /\.ht {
	#	deny all;
	#}
}


# Virtual Host configuration for example.com
#
# You can move that to a different file under sites-available/ and symlink that
# to sites-enabled/ to enable it.
#
#server {
#	listen 80;
#	listen [::]:80;
#
#	server_name example.com;
#
#	root /var/www/example.com;
#	index index.html;
#
#	location / {
#		try_files $uri $uri/ =404;
#	}
#}
PHPファイルの作成
/var/www/html/にindex.phpを作る。
sudo vi /var/www/html/index.php
内容を下記とする。
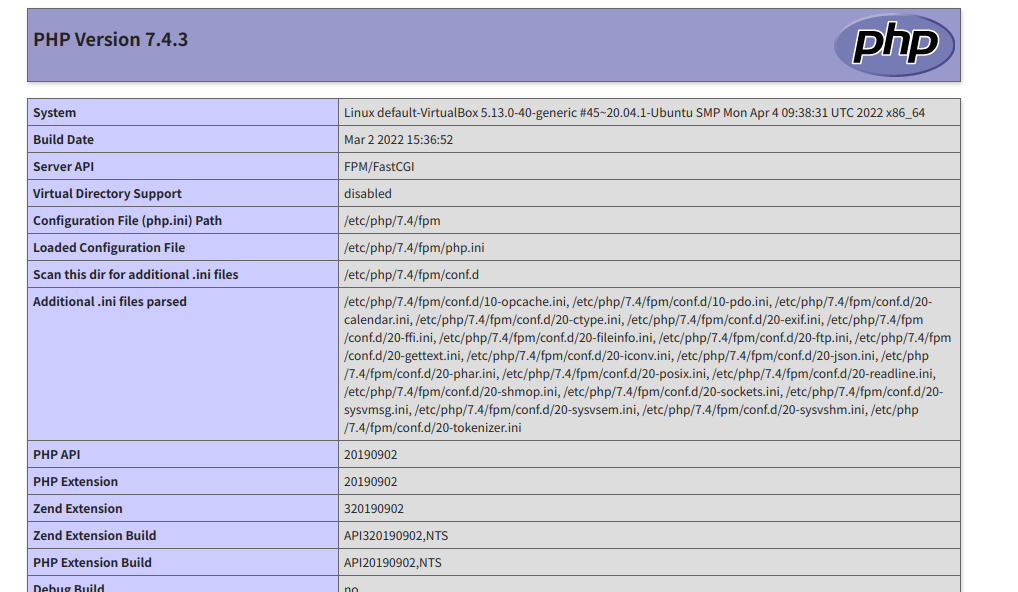
<?php

phpinfo();
HelloWorldを表示させたい場合はこうする。
<?php

echo "HelloWorld";
設定のリロード
sudo nginx -t
sudo systemctl reload nginx
IPアドレスの確認とアクセス
ip addr
にて表示されるIPアドレスをブラウザに入力。以下が表示される。
補足
【補足1】アクセスしてもファイルがDLされるだけでPHPが実行されない
php-fpmとその設定が不足している可能性がある。
nginxの設定とphp-fpmがインストールされているか確認する。
ちなみに、index.phpのアクセス権限は無関係。chmodコマンドでフルアクセスにする必要はない。
【補足2】Nginxの設定リロードで失敗する
Nginxの設定ファイルの構文に誤りがないかチェックする。
上記の設定であれば問題なくリロードされる。