サーバー版Ubuntu 20.04のインストールから設定、SSHログインまで【固定IPアドレス、タイムゾーン、bashrcなど】

デスクトップ版のUbuntuとサーバー版のUbuntuは完全に別物である。
デスクトップ版はGUIでラクラク固定IPアドレス設定できたり、作業しながらブラウザで検索できる一方で、サーバー版のUbuntuはただ無機質なターミナルが全画面を覆っているだけである。
本記事ではインストールからIPアドレスの固定化、bashの設定やタイムゾーン設定、別端末からSSHでログインするまでを解説する。
対象読者は、既にデスクトップ版Ubuntuを自前でインストールして使用した事があり、ターミナル操作やVimを問題なく扱えるレベルを想定している。もしデスクトップ版のUbuntuもインストールしたこと無い場合は、日経Linuxなどの雑誌にデスクトップ版Ubuntuのインストール方法が書かれてあるので、そちらを参照。
インストール
まず、Ubuntu公式からサーバー版Ubuntuのiso(Option2)をDL。
後はこのisoファイルをUSBメモリにUniversal USB Installerなどを使用してインストールする。そのUSBメモリを任意のPCに差し込み、PCにUbuntuをインストールさせる。
以下、VirtualBox上に表示された画面をスクリーンショットして解説。
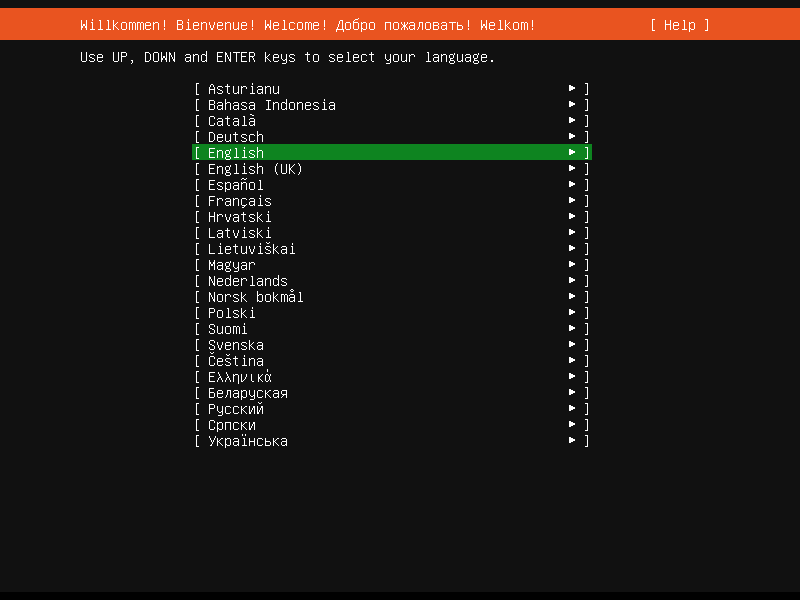
まず、最初に表示されるのは言語の指定。日本語は無いので、Englishを選択。
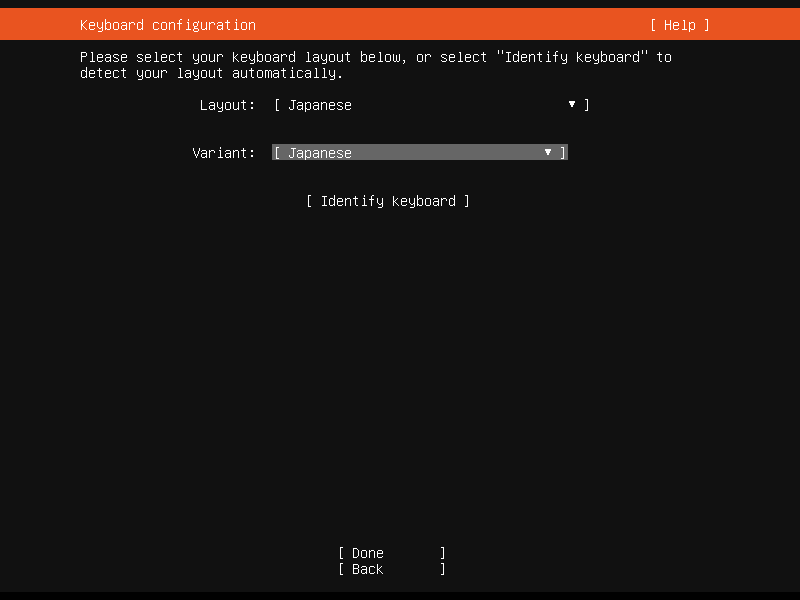
キーボードのレイアウトを選択。日本語キーボードを選ぶ。
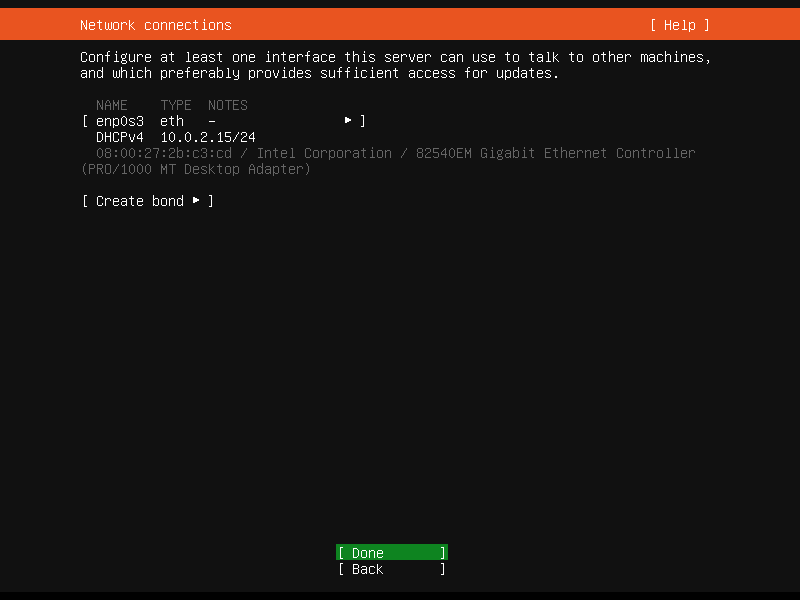
IPアドレスの指定。ここで正しく設定を施せば、後のIPアドレス固定化の作業をスキップできるが、解説のためあえて何も設定せず、DHCPのままで行う。そのままDoneを押せばよい。
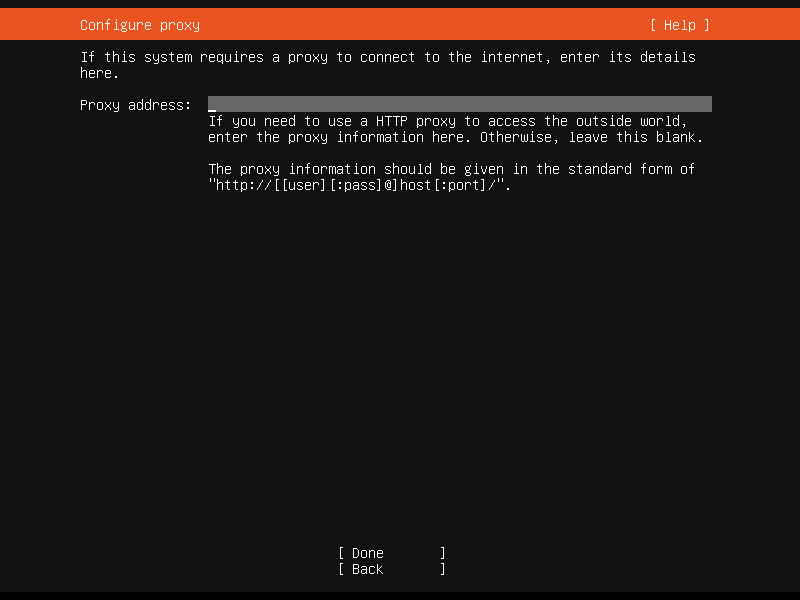
プロキシサーバーの指定。特に何も指定しなくていい。そのままDoneを押す。
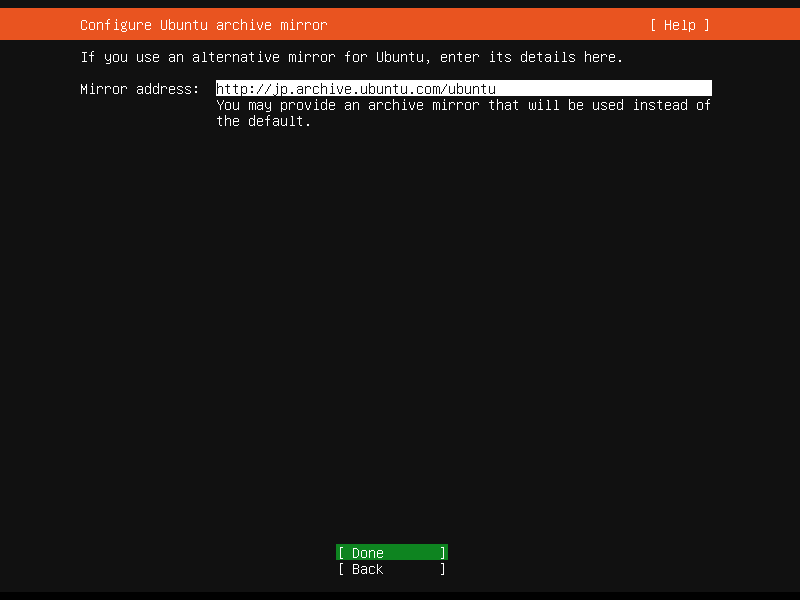
Ubuntuのミラーアドレスの指定。これも特に何も指定せず、そのままDoneを押す。
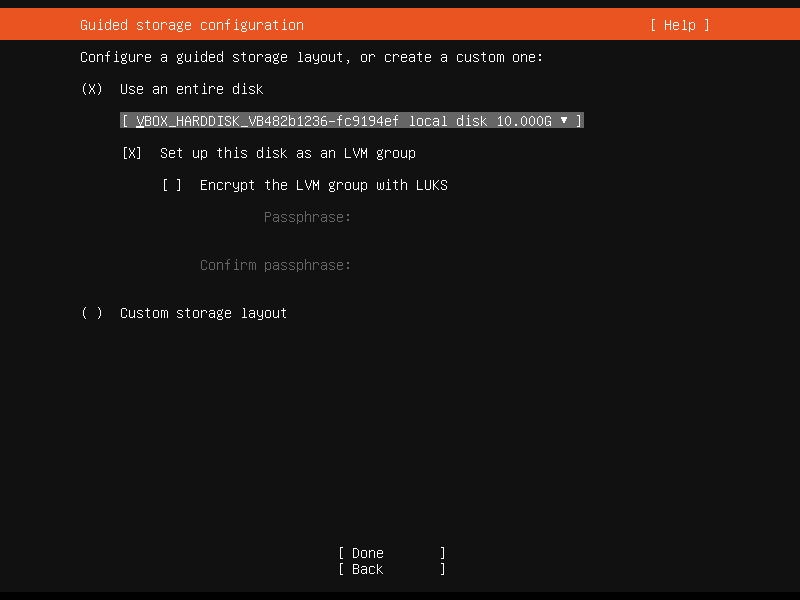
インストールに使用するディスクの指定、ディスクのLVM設定(論理ボリュームマネージャー)。画像では、『Set up this disk as LVM group』のチェックが入っているが、チェックを外す。実機の場合チェックが入っていると、ブートに使用したUSBとHDDでストレージ容量が折半されてしまうので、必ずチェックを外す。Doneを押す。
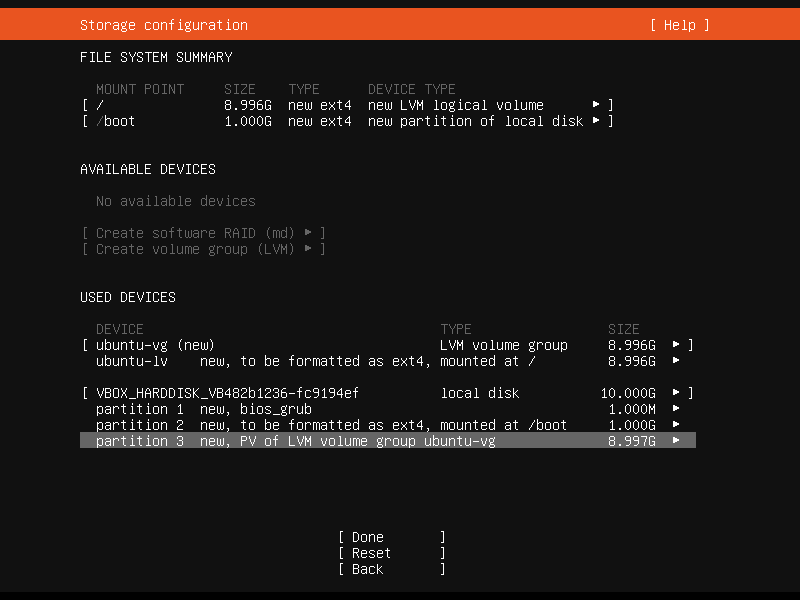
パーティションの設定。これも何もしなくていい。そのままDoneを押す。
Doneを押すと、下記のようにディスクをフォーマット(初期化)する件について了承を求められる。Continueを押す。

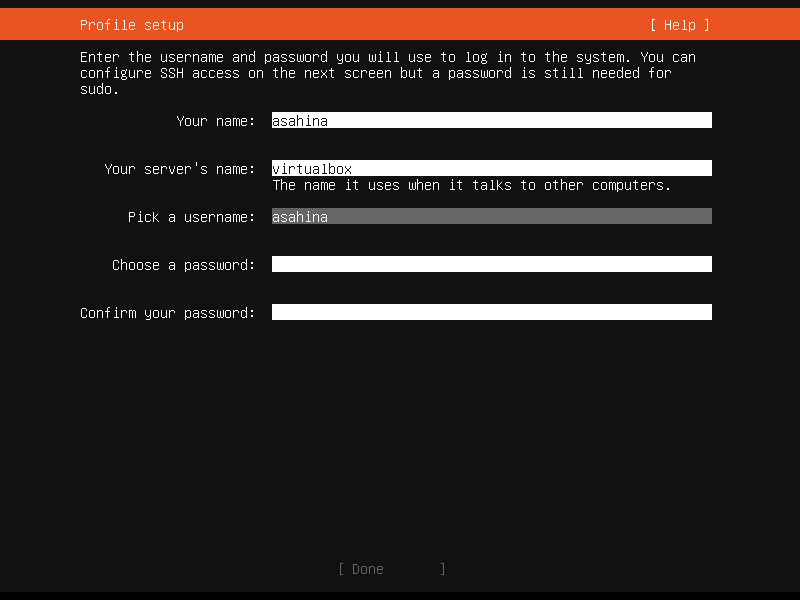
OSのusernameとpassword、servernameの入力を要求される。適宜記入して、Doneを押す。
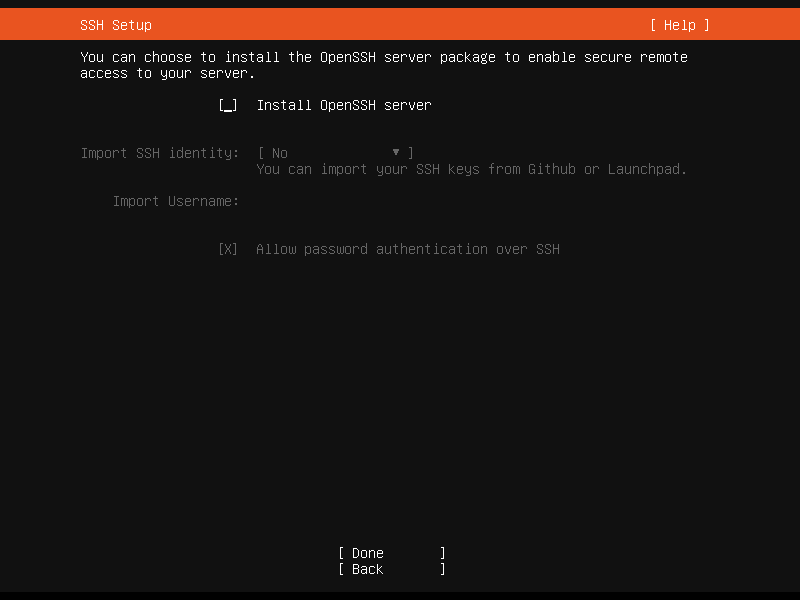
OpenSSHserverをインストールするか聞かれる。インストールすれば後の設定をスキップできるが、ここは解説のため、あえてインストールせず、そのままDoneを押す。
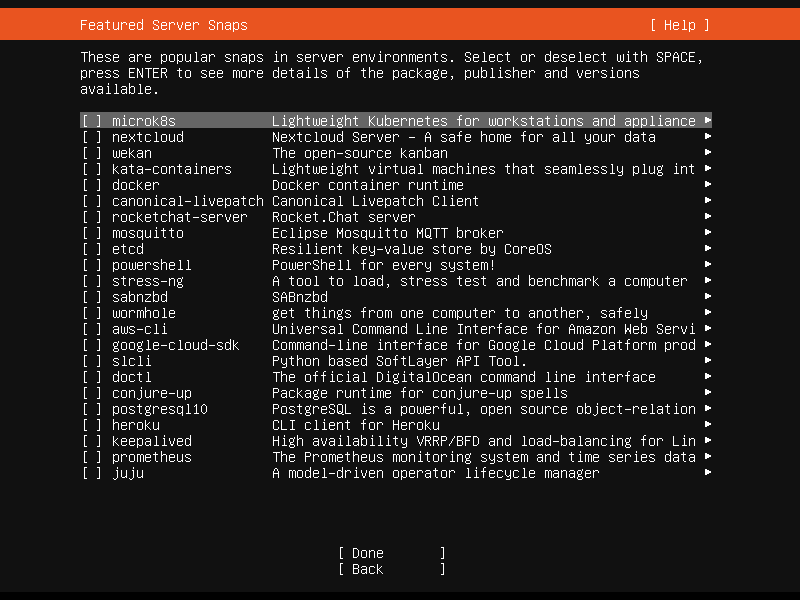
サーバー向けのアプリのインストールをするか聞かれる。全て必要ないので、そのままDoneを押す。
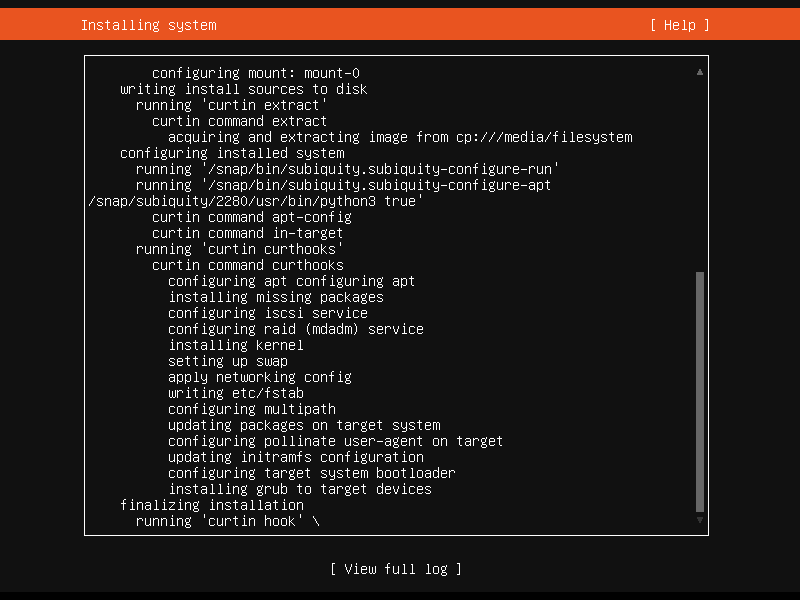
OSのインストールが始まる。詳細の確認も可能。インストール完了までハードウェアの性能にもよるが、およそ5分から10分程度でインストールは終わる。
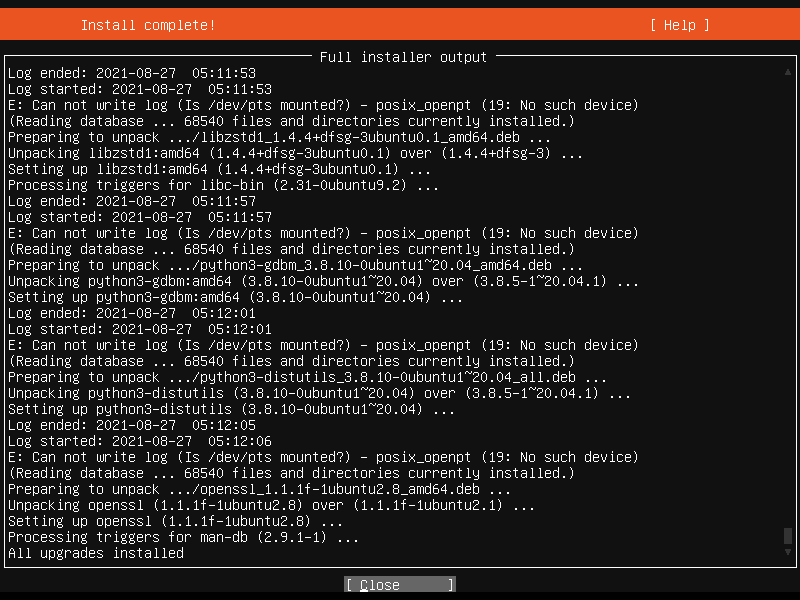
数分後、下記画面になりインストールが完了する。
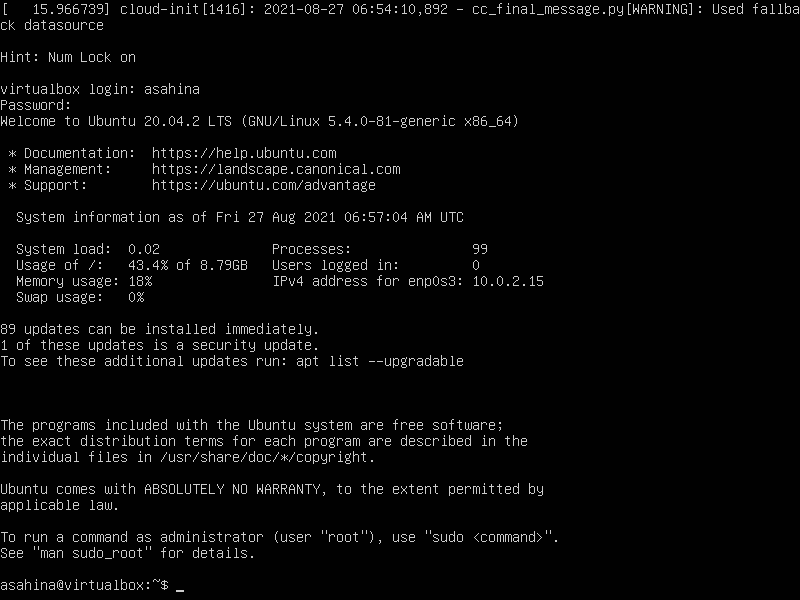
さっき入力したusernameとpasswordを順に入力する。ログインに成功したらこんな画面が表示される。これでインストール作業は完了。
.bashrcの設定
.bashrcの設定。ターミナルログの設定変更を行う。
vi ~/.bashrc
行目あたりの場所に下記を記述。
HISTSIZE=100000
HISTFILESIZE=200000
HISTTIMEFORMAT='%y/%m/%d %H:%M:%S '
設定有効化。
source ~/.bashrc
タイムゾーンの指定
dateコマンドを実行すると、時刻が9時間遅れになっている。日本のタイムゾーンに合わせる。
timedatectl list-timezones | grep "Asia/Tokyo"

#↑の出力結果にAsia/Tokyoがあれば、下記を実行。

sudo timedatectl set-timezone Asia/Tokyo
これでhistoryコマンドで出力される時刻も日本時間基準になる。
IPアドレスの固定化
※VirtualBoxを使用している場合、予めネットワーク設定をブリッジモードにしておく。これで実機と同様にIPアドレスがルーターから付与される。
まず、ネットワークに繋がっているインターフェイスの名を調べる。
ip addr
ルーターがDHCPであれば、既にローカルIPアドレスが割り当てられている。そのインターフェイス名を控える。
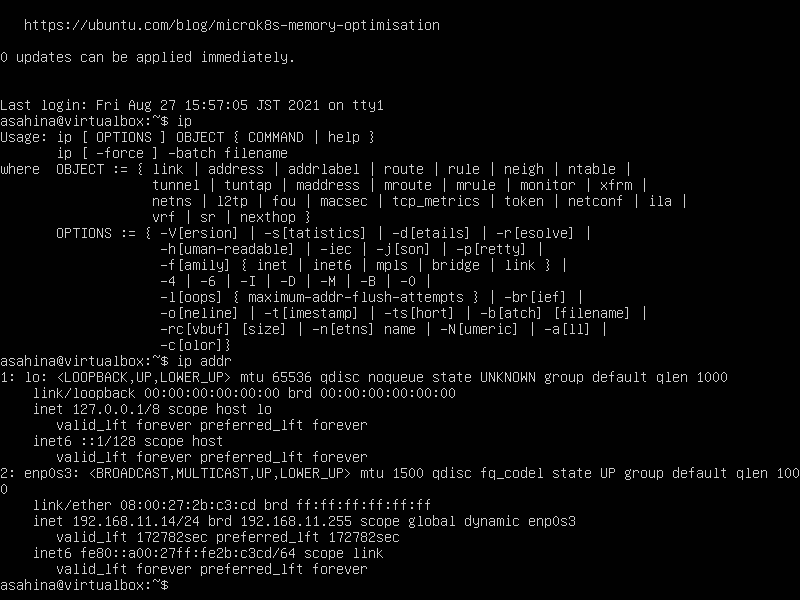
この場合、インターフェイス名はenp0s3、IPアドレスは192.168.11.14。
netplanを編集し、IPアドレスを固定に仕立てる。オリジナルの設定をコピーしてから編集する。
sudo cp /etc/netplan/01-network-manager-all.yaml /etc/netplan/01-network-manager-all.yaml_bak
sudo vi /etc/netplan/01-network-manager-all.yaml
ここで気をつけたいのが、 /etc/netplan/ 内のすべてのyaml がnetplanの設定として読み込みされる。
オリジナルの設定は、拡張子を書き換えておくことで、netplanの設定として読ませないようにしておく。
下記のように書き換える。
# This is the network config written by 'subiquity'
network:
  ethernets:
    enp0s3:
      addresses:
      - 192.168.11.234/24
      gateway4: 192.168.11.1
      nameservers:
        addresses:
        - 192.168.11.1
        search: []
  version: 2
addressesに指定するIPアドレスはDHCPでリースする範囲外のIPアドレスを指定する。この設定を反映させるため、下記コマンドを実行。
sudo netplan apply
もう一度、ipコマンドでIPアドレス、インターフェイスを確認する。
ip addr
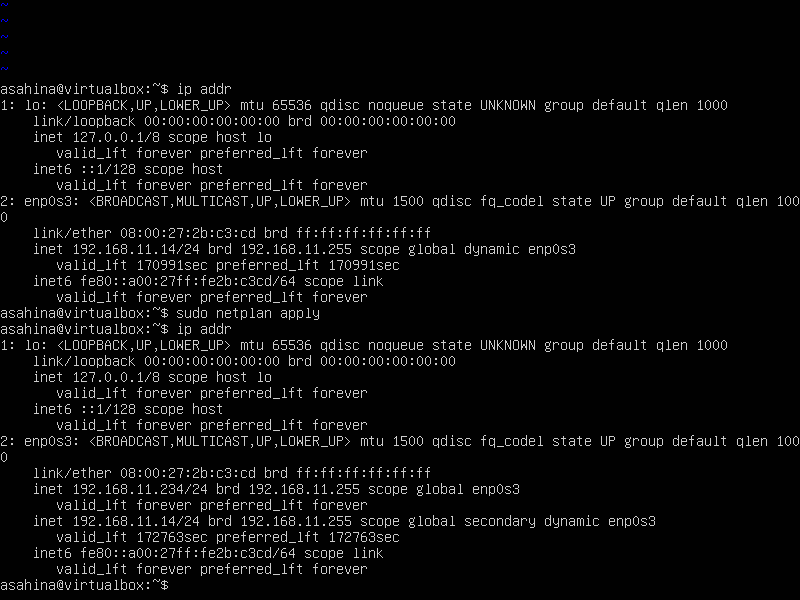
IPアドレスの固定化に成功した。
DHCPのIPアドレスが残っているが、リース期限が切れるか、ルーター側から割り当てを消すことで、削除できる。
参照:https://netplan.io/examples/
gateway4が廃止されたと言われたら?
Ubuntu22.04をインストールしたところ、下記メッセージが表示された。
** (generate:1119): WARNING **: 04:38:35.138: `gateway4` has been deprecated, use default routes instead.
See the 'Default routes' section of the documentation for more details.
gateway4が廃止されており、routesを使用するようにとのこと。以下のように書き換える
network:
  ethernets:
    enp0s3:
      addresses:
      - 192.168.11.246/24
      routes:
        - to: default
          via: 192.168.11.1
      nameservers:
        addresses:
        - 192.168.11.1
        search: []
  version: 2
どうやら最近netplanの構文が変わったらしい。
参照元:https://unix.stackexchange.com/questions/681220/netplan-generate-gateway4-has-been-deprecated-use-default-routes-instead
SSHのインストール
openssh-serverをインストールする。
sudo apt install openssh-server
SSHの設定を施す。netplanの時と同様にオリジナルの設定のバックアップをとった上で、設定を編集する。
sudo cp /etc/ssh/sshd_config /etc/ssh/sshd_config_origin
sudo vi /etc/ssh/sshd_config
sshd_configの中身は下記。必要に応じて変更する。
#	$OpenBSD: sshd_config,v 1.103 2018/04/09 20:41:22 tj Exp $

# This is the sshd server system-wide configuration file.  See
# sshd_config(5) for more information.

# This sshd was compiled with PATH=/usr/bin:/bin:/usr/sbin:/sbin

# The strategy used for options in the default sshd_config shipped with
# OpenSSH is to specify options with their default value where
# possible, but leave them commented.  Uncommented options override the
# default value.

Include /etc/ssh/sshd_config.d/*.conf


#↓ポート番号を変更(デフォルト22番)
#Port 22

#AddressFamily any

#接続を受け付けるIPアドレス
#ListenAddress 0.0.0.0
#ListenAddress ::

#HostKey /etc/ssh/ssh_host_rsa_key
#HostKey /etc/ssh/ssh_host_ecdsa_key
#HostKey /etc/ssh/ssh_host_ed25519_key

# Ciphers and keying
#RekeyLimit default none

# Logging
#SyslogFacility AUTH
#LogLevel INFO

# Authentication:

#ログイン試行時間、これをすぎると正しいパスワードを入力してもログインに失敗する。
#LoginGraceTime 2m

#rootを使用したログインの禁止
#PermitRootLogin prohibit-password
#StrictModes yes
#MaxAuthTries 6
#MaxSessions 10


#公開鍵認証を使用したログイン
#PubkeyAuthentication yes

# Expect .ssh/authorized_keys2 to be disregarded by default in future.
#AuthorizedKeysFile	.ssh/authorized_keys .ssh/authorized_keys2

#AuthorizedPrincipalsFile none

#AuthorizedKeysCommand none
#AuthorizedKeysCommandUser nobody

# For this to work you will also need host keys in /etc/ssh/ssh_known_hosts
#HostbasedAuthentication no
# Change to yes if you don't trust ~/.ssh/known_hosts for
# HostbasedAuthentication
#IgnoreUserKnownHosts no
# Don't read the user's ~/.rhosts and ~/.shosts files
#IgnoreRhosts yes

# To disable tunneled clear text passwords, change to no here!

#パスワードを使用したログイン(公開鍵認証方式だけにしたいならこれはnoにする)
#PasswordAuthentication yes

#パスワード無しを許可するか否か
#PermitEmptyPasswords no

# Change to yes to enable challenge-response passwords (beware issues with
# some PAM modules and threads)
ChallengeResponseAuthentication no

# Kerberos options
#KerberosAuthentication no
#KerberosOrLocalPasswd yes
#KerberosTicketCleanup yes
#KerberosGetAFSToken no

# GSSAPI options
#GSSAPIAuthentication no
#GSSAPICleanupCredentials yes
#GSSAPIStrictAcceptorCheck yes
#GSSAPIKeyExchange no

# Set this to 'yes' to enable PAM authentication, account processing,
# and session processing. If this is enabled, PAM authentication will
# be allowed through the ChallengeResponseAuthentication and
# PasswordAuthentication.  Depending on your PAM configuration,
# PAM authentication via ChallengeResponseAuthentication may bypass
# the setting of "PermitRootLogin without-password".
# If you just want the PAM account and session checks to run without
# PAM authentication, then enable this but set PasswordAuthentication
# and ChallengeResponseAuthentication to 'no'.
UsePAM yes

#AllowAgentForwarding yes
#AllowTcpForwarding yes
#GatewayPorts no
X11Forwarding yes
#X11DisplayOffset 10
#X11UseLocalhost yes
#PermitTTY yes
PrintMotd no
#PrintLastLog yes
#TCPKeepAlive yes
#PermitUserEnvironment no
#Compression delayed
#ClientAliveInterval 0
#ClientAliveCountMax 3
#UseDNS no
#PidFile /var/run/sshd.pid
#MaxStartups 10:30:100
#PermitTunnel no
#ChrootDirectory none
#VersionAddendum none

# no default banner path
#Banner none

# Allow client to pass locale environment variables
AcceptEnv LANG LC_*

# override default of no subsystems
Subsystem sftp	/usr/lib/openssh/sftp-server

# Example of overriding settings on a per-user basis
#Match User anoncvs
#	X11Forwarding no
#	AllowTcpForwarding no
#	PermitTTY no
#	ForceCommand cvs server
PasswordAuthentication yes
見ての通り、#でコメントアウトする。
なお、保存した直後から設定変更が反映されるため、SSHでログインした状態で設定を書き換えて保存すると、即追い出される事がある。
設定間違えて、とにかくオリジナルの設定に戻したい場合、下記を実行すればすぐに戻すことができる。
sudo cp /etc/ssh/sshd_config_origin /etc/ssh/sshd_config
デフォルト設定でログインをする。先程指定した固定IPアドレスを指定する。
ssh asahina@192.168.11.234
パスワードはOSインストール時に指定したものを入力する。
結論
こうしてまとめると日常的にvimやターミナルを触っていれば、それほど難しくないことがわかる。
ブラウザなどを使用しない、GUIである必要がない場合は、思い切ってサーバー版のUbuntuを採用したほうが、サービス提供のためのリソースを確保できる上に、古い低スペックPCもリサイクルできる。
ちなみに、インストール以降の作業はデスクトップ版、サーバー版いずれも同じである。故にターミナルでのサーバー設定方法を覚えておけば、どこでも通用する。